
Quick Answer
Start with one cabinet at a time: empty it, sort items into keep, move, and let-go groups, measure the shelf, then place daily items at easy reach and move rarely used items up high or to another spot. Group items by task, add a riser, bin, or turntable only where it fits, and label the new spots.
Contents
- Before You Start
- Step 1: Empty One Cabinet at a Time
- Step 2: Sort Without Second-Guessing
- Step 3: Measure Before You Buy Anything
- Step 4: Set Zones by Where You Cook
- Step 5: Place Items by Height and Frequency
- Step 6: Choose Organizers That Fit the Cabinet
- Step 7: Organize Deep, Corner, and Under-Sink Cabinets
- Step 8: Label and Keep the System Working
- Shopping List
- FAQ
Before You Start
A tiny kitchen cabinet often feels crowded because items arrive faster than a plan for where each one lives. Plates stack on bowls, sauces hide behind cereal boxes, and the pan you reach for sits behind three pans you rarely touch. The fix is not a shopping trip. The fix is a clear order: empty, sort, measure, zone, and place.
Work cabinet by cabinet, not room by room. A whole-kitchen clear-out leaves counters covered and patience thin, and half-finished cabinets tend to stay half-finished. One cabinet, finished properly, shows what the method feels like, and the next cabinet often goes faster because the zones are already taking shape.
Keep a small kit close by: a cloth for wiping shelves, a tape measure, a marker, and a few bags or boxes for sorting. You do not need matching containers to start. In fact, starting with containers often creates a second problem, because containers bought before measuring tend to fit poorly and waste the shelf space they were meant to save.
If you rent, no-drill and freestanding organizers are the easiest place to start. They can improve cabinet storage without permanent changes, though adhesive and clip-on products can still mark finishes. Screw-in options can work well too, but check your lease first, and ask your landlord if the lease is unclear. That helps you avoid surprises with your deposit.
Step 1: Empty One Cabinet at a Time
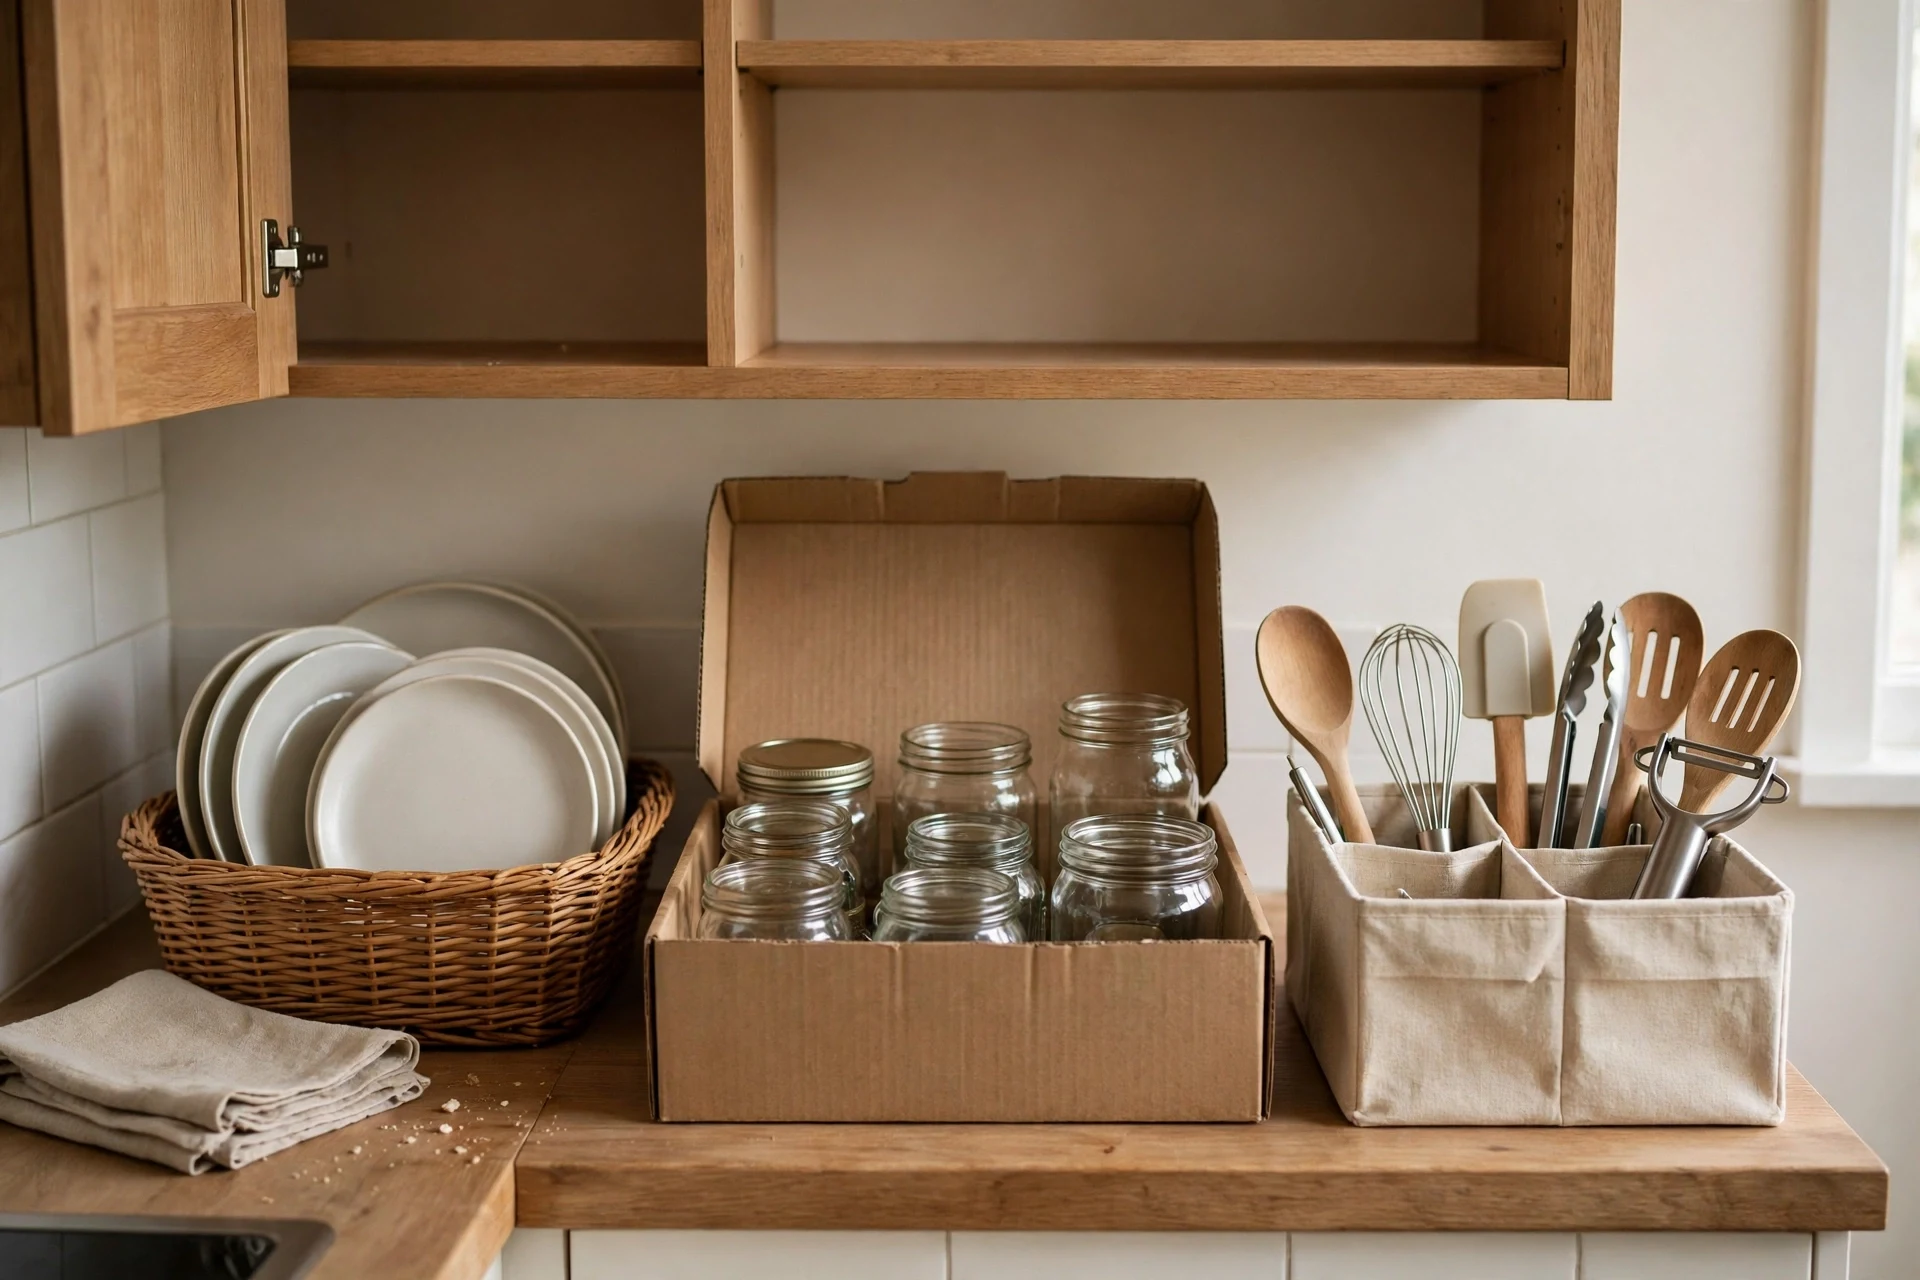
Pick the cabinet that annoys you most. That might be the cabinet holding daily plates and bowls, or the deep base cabinet where pots pile up. Open it, take each item out, and set items on the counter in the order they came out. Wipe the shelf while it is empty. A clean shelf makes it easier to see the real space, including the shelf height, the hinge position, and any lip at the front that could block a bin or a riser.
Resist the urge to empty a second cabinet while the first one is still spread across the counter. The point of this step is control: one open cabinet, one clear surface, one set of decisions. When the counter fills up, pause and finish the sorting step before opening anything else.
This step also reveals duplicates. You may find two can openers, three spatulas, or a set of measuring cups with no matching spoons. Duplicates are not a failure. They are simply items that arrived at different times and settled in the same cabinet without a plan.
Step 2: Sort Without Second-Guessing
With items on the counter, sort them into three groups: keep in this cabinet, move to a more fitting spot, and let go. The keep group holds items you use in this part of the kitchen. The move group holds items that belong near a different task, such as baking trays that live better near the oven, or cleaning supplies that belong under the sink. The let-go group holds broken items, items with missing parts, and items you have not reached for in a long while.
Ask one plain question for each item: where do I reach for this, and how often? Items used for daily cooking stay close to the stove or the prep counter. Items used for a weekly task can sit a little further away. Items tied to a rare task, such as a large roasting pan or a holiday platter, can move to a high shelf, a closet, or another room, as long as the new spot is a real home and not a pile on top of a cabinet.
Letting go does not have to mean throwing items away. Usable duplicates can go to a donation box, and items a friend or family member can use can leave the kitchen with a clear purpose. Aim for a cabinet where each item has room to be seen and reached.
Step 3: Measure Before You Buy Anything
Measure the cabinet before buying a riser, bin, turntable, or divider. Write down three numbers for each shelf: width, depth, and height. Note the hinge side, any pipe or shelf lip in the way, and the size of the cabinet opening, because an organizer that fits inside a cabinet can still fail to pass through the door.
Measure the tallest item that will sit on the shelf too. A riser that leaves no room for a tall bottle, or a bin that blocks the door from closing, creates a new frustration in place of the old one. A short note on paper, kept with the shopping list, keeps these numbers close when you shop, and it helps you compare options without guessing.
Measuring first helps you avoid organizers that don’t fit. When the numbers are known, the choice narrows to organizers that fit the shelf, the opening, and the items. When the numbers are unknown, the choice rests on hope, and hope is a poor fit for a deep cabinet.
Step 4: Set Zones by Where You Cook
Zones are groups of items stored where they get used. In a tiny kitchen, four or five zones cover most cooking and cleaning tasks, and each zone can live in one cabinet or one part of a cabinet:
- Cooking zone, near the stove: pots and pans used for daily meals, spatulas and other cooking tools, and lids.
- Prep zone, near the main counter: cutting boards, knives, mixing bowls, and measuring tools.
- Dish zone, near the sink or dishwasher: plates, bowls, glasses, and silverware.
- Food zone, for pantry items: grains, pasta, canned goods, oils, sauces, snacks, and baking supplies.
- Cleaning zone, under the sink: cleaning sprays, sponges, trash bags, and dish soap.
Place the food zone with care when pantry space is tight. If food has no clear home, one cabinet set aside for food, kept in clear groups, can bring order to the rest of the kitchen. For ideas on shaping that food cabinet, see 15 Kitchen Storage Ideas for Small Apartments With No Pantry.
Zones also help prevent a common drift: items slowly migrating to the cabinet nearest the shopping bags, rather than the cabinet nearest the task. When each item has a zone, putting items away takes less thought, and the next person cooking in the kitchen may be able to find items more quickly.
Step 5: Place Items by Height and Frequency
Once zones are set, place items by height and frequency. Daily items belong between waist height and eye level, where they can be reached without a step stool or a deep bend. Heavy items belong low, where lifting them is safer and steadier. Reserve high shelves for lightweight items you rarely use and can reach safely.
Inside a single cabinet, apply the same logic shelf by shelf. The lowest shelf in an upper cabinet can hold daily plates and bowls. A higher shelf can hold backup supplies and items tied to a rare task. In a base cabinet, the front of the shelf suits daily pans, while the back suits items used less often, unless a pull-out or a bin brings the back forward.
Keep like with like inside each zone. Sauces together, baking supplies together, and snack items together. Grouping by task shortens the search at meal time, and it makes it clear when a group has grown too large for its shelf. When a group outgrows its shelf, the answer is usually to move part of the group to another zone, not to stack items higher.
Step 6: Choose Organizers That Fit the Cabinet
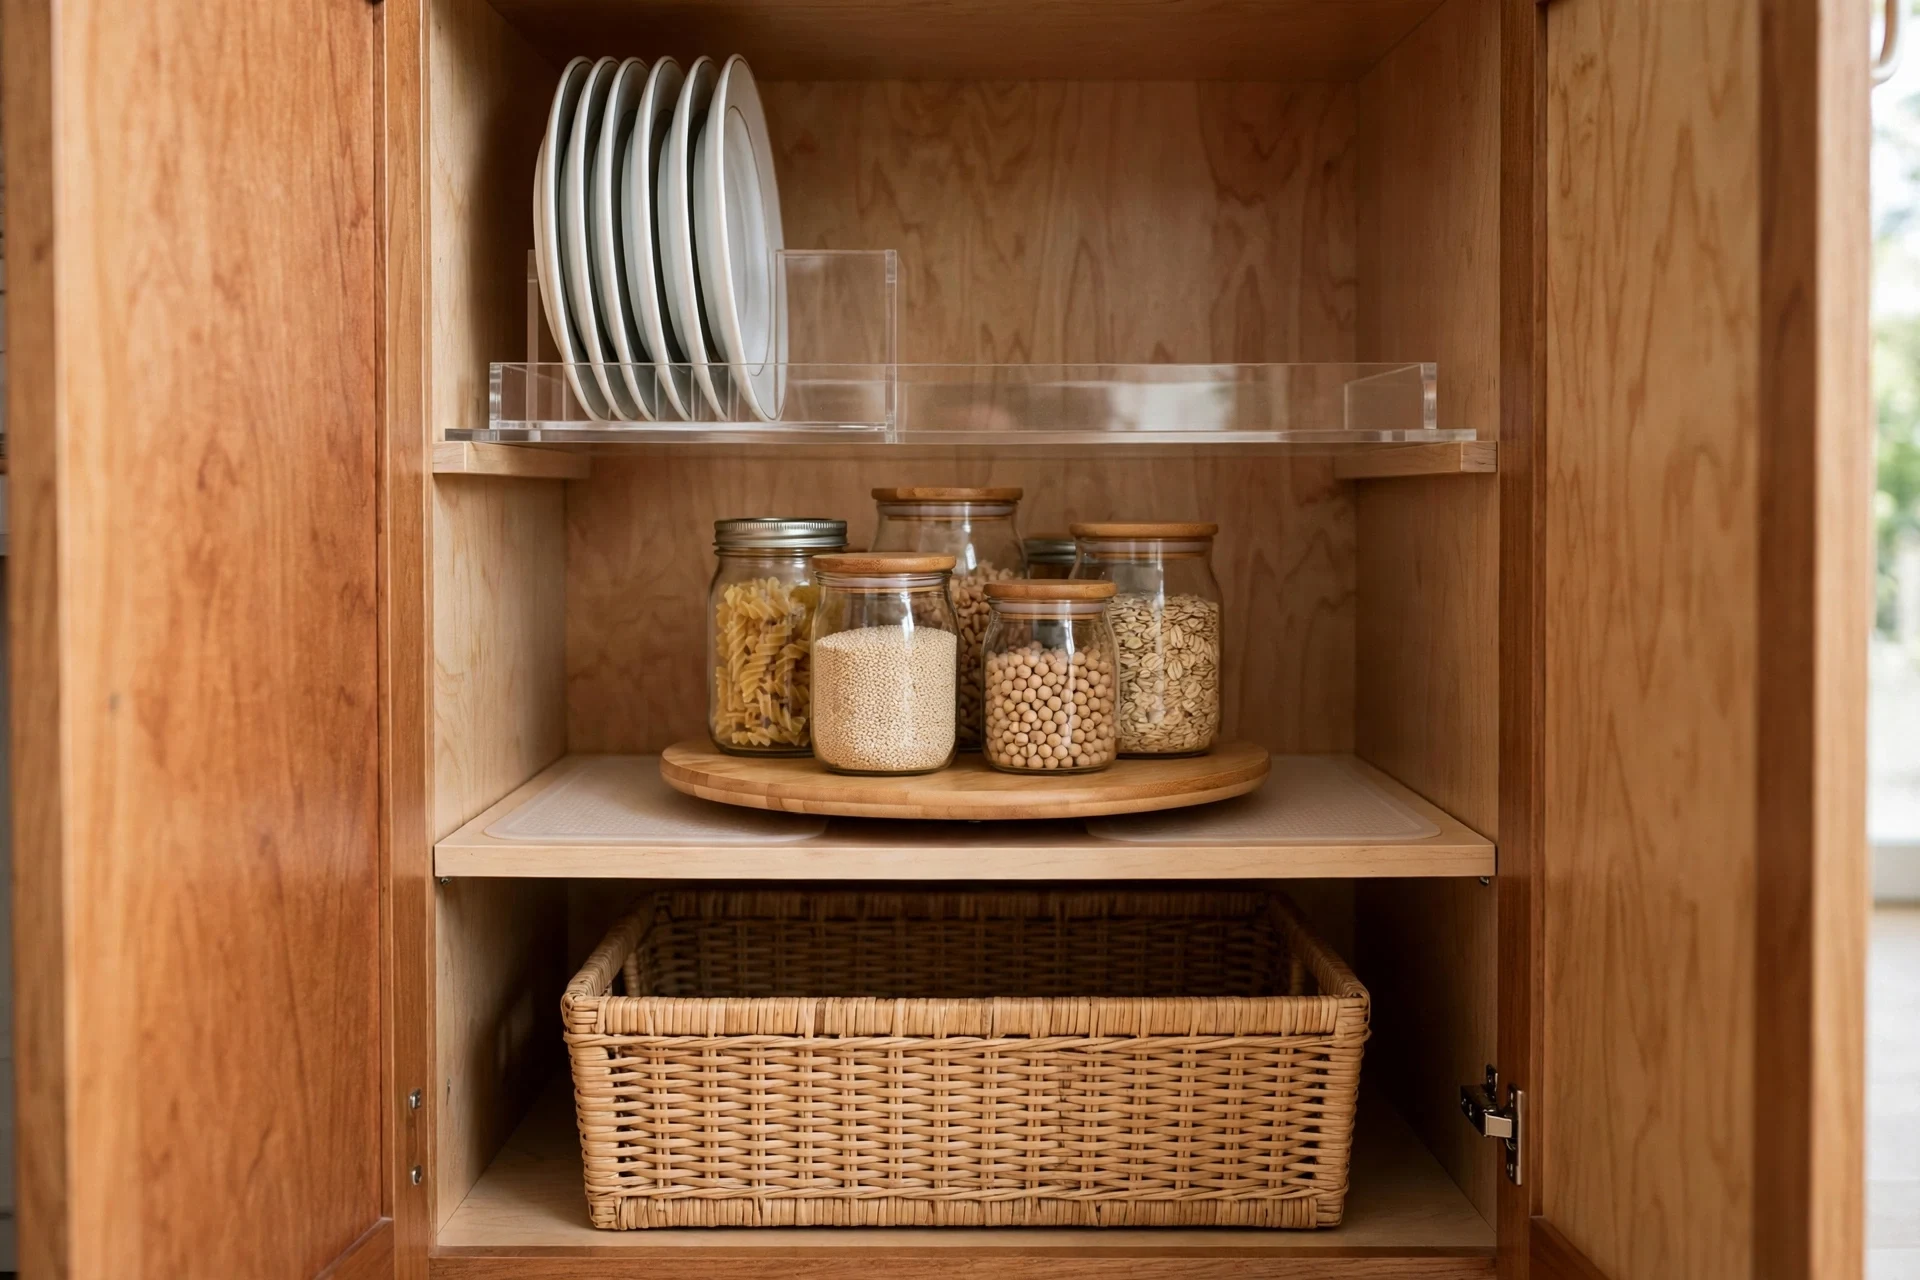
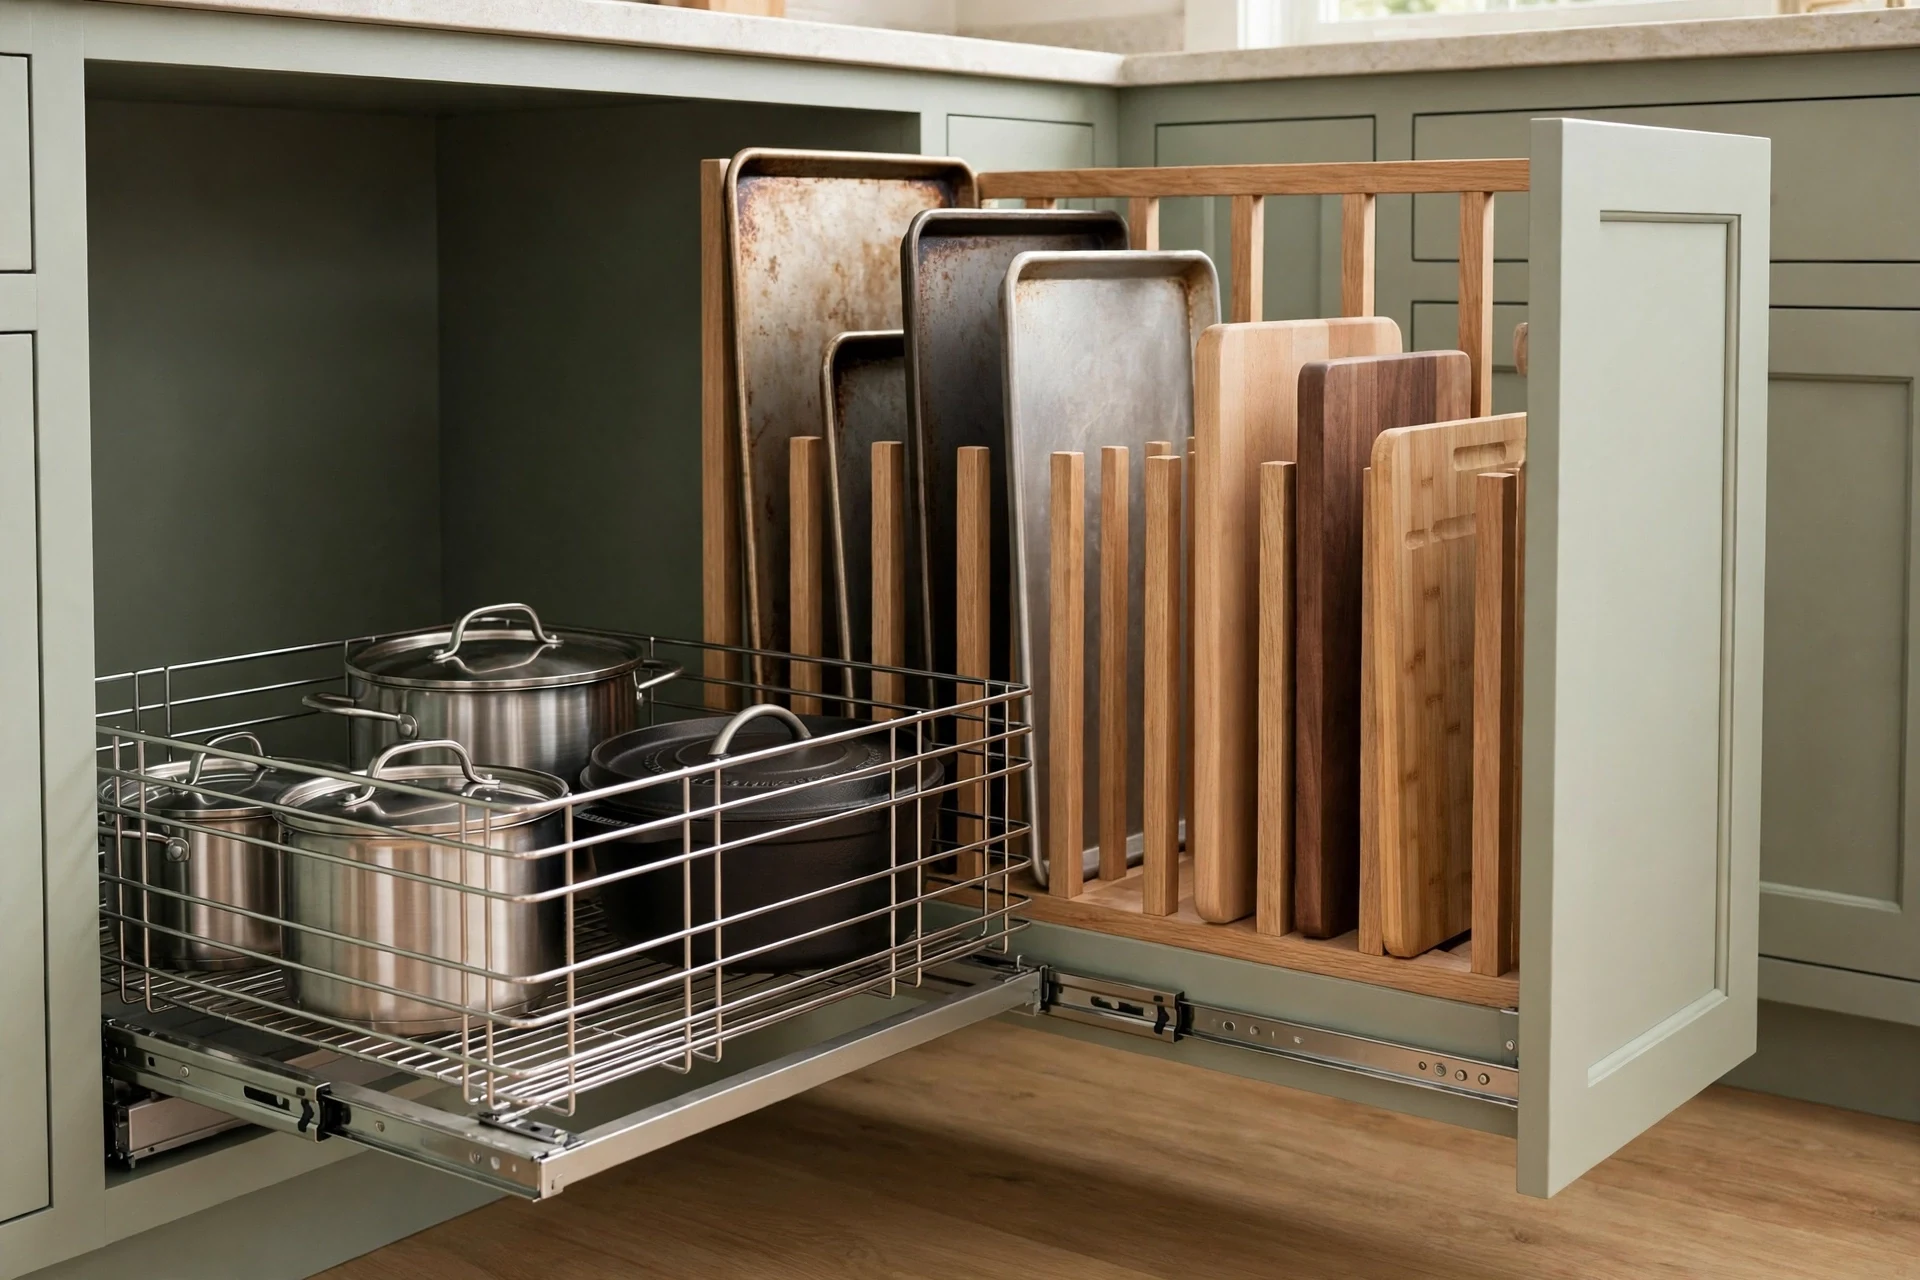
Organizers work best when they match the cabinet and the items. A riser adds a second layer inside a tall cabinet. A turntable brings jars at the back of a deep cabinet into reach with a spin. A bin with a handle lets you pull a whole group out at once, instead of moving items one by one. A vertical divider holds baking sheets, trays, and cutting boards upright, so one tray can come out without a stack sliding forward.
Use the comparison below to match an organizer to a cabinet, and check the renter note before choosing a screw-in version.
| Organizer | Where it helps | Renter note |
|---|---|---|
| Shelf riser | Upper cabinets with tall shelves, for plates and bowls | Typically no-drill; sits on the shelf (check product instructions) |
| Turntable | Corner cabinets and deep cabinets, for jars and sauces | Typically no-drill; sits on the shelf (check product instructions) |
| Clear bin with a handle | Deep base cabinets, for grouped items | Typically no-drill; pulls out as one group (check product instructions) |
| Vertical divider | Base cabinets, for baking sheets and cutting boards | Choose a freestanding divider to avoid drilling |
| Pull-out basket or shelf | Deep lower cabinets, for pots and heavy items | May need landlord permission when it screws in; check your lease first |
| Door rack | Inside a cabinet door, for foil, plastic wrap, lids, and small packets | Typically no-drill when it hangs over the door or uses adhesive; check the weight limit first |
Buy one organizer first when you are unsure. Test it in the cabinet it was bought for, live with it for a few days of normal cooking, and then decide whether the same organizer suits another cabinet. One good fit teaches more than a cart full of organizers that fit poorly.
Step 7: Organize Deep, Corner, and Under-Sink Cabinets
Tricky cabinets need a plan of their own, because each one fails in a different way.
Corner cabinets hide items at the back. A turntable or a bin that pulls forward can bring the back into reach. Keep the corner for one group only, such as baking supplies or large bowls, so the group stays easy to describe and easy to put back.
Deep base cabinets swallow pots at the back. A pull-out basket, or a bin with a handle, can turn the back into a group you pull out in one motion. Store lids upright beside pots, or in a vertical divider, so a lid can be found without lifting a stack.
Under-sink cabinets hold pipes, cleaning supplies, and damp air. Keep cleaning items in a bin, keep food out of this cabinet, and use a tension rod across the top for spray bottles when the pipes allow room (check the rod’s weight limit first). If children or pets share the home, keep cleaning products in a closed bin out of their reach.
Upper cabinets with high shelves suit backup items and light, rarely used pieces. Keep a small, stable step stool close by when high shelves hold items you reach for weekly, or move those items lower and let the high shelf hold items tied to a rare task.
Drawers near cabinets deserve the same treatment. A divider keeps silverware, tools, and wraps in lanes, so a drawer opens to a set of groups rather than a tangle. When a drawer holds items from several zones, split the drawer by task and move the overflow group to its own zone.
Step 8: Label and Keep the System Working
Labels turn a new system into a shared system. A short label on a bin, such as “sauces” or “baking”, tells each person in the home where items live, and it makes putting items away as quick as taking them out. Labels do not need to look uniform. A marker on masking tape works, and it can change when a zone changes.
Set a short reset rhythm. Once a week, pick one shelf or one drawer, remove items that drifted out of place, and put them back in their zones. Once a month, check the food zone for duplicates and for items that moved in without a home. A short reset keeps a small drift from growing back into a crowded cabinet, and it takes far less effort than a second full clear-out.
When a new item arrives, give it a home before it settles on a counter. Ask where its zone is, and whether its shelf has room. When a shelf has no room, move a rarely used item to a higher shelf or another room first. A rule for new items makes it easier to keep them from landing wherever there happens to be space.
Shopping List
Items are listed by type only, so they can be matched to measured shelves:
- Shelf risers
- Turntables
- Clear bins with handles
- Freestanding vertical dividers
- Drawer dividers
- Tension rod for under-sink spray bottles
- Over-door or adhesive door racks
- Shelf liner
- Labels or masking tape and a marker
- Small step stool for high shelves
FAQ
How do I organize deep kitchen cabinets?
Use a pull-out basket or a bin with a handle so the back comes forward in one motion, and store lids upright beside pots or in a vertical divider so one lid can be found without lifting a stack.
What should I do first in a small kitchen?
Clear the cabinet that causes the most daily friction, usually the cabinet holding daily plates or pots. Finish that cabinet fully before opening the next one.
Can I organize a rental kitchen without drilling?
Many shelf risers, turntables, bins, drawer dividers, tension rods, over-door racks, and freestanding dividers can be used without drilling. Check each product’s instructions before buying. For screw-in pull-out shelves, wall rails, or hooks, check your lease first and ask your landlord when the lease is unclear, so the change stays within your rental terms.
Where should daily plates and glasses go?
Place them in the dish zone, near the sink or dishwasher, on a shelf between waist height and eye level. Keep plates and bowls in one group, glasses in a second group, and silverware in a divided drawer close by, so setting the table and putting items away both follow the same short path.
Conclusion
In a tiny kitchen, the cabinets you already have can do more once they follow a clear order: one cabinet emptied at a time, items sorted by task, shelves measured before anything is bought, zones placed where cooking happens, and daily items kept at easy reach. Add organizers that fit, give tricky cabinets a plan of their own, and label the new spots so the system holds. Work through the cabinets in that order, and the kitchen starts to feel less like a puzzle and more like a room built for cooking.